Tuesday, 28 July 2015

My first attempt at curtains

Hello again! It's been a while! So much for my good intentions for keeping this blog up to date, but to be honest, there's not been a huge amount to report on.

We've been busy doing up my office room which will not only house me and my laptop on my working from home days, but will also become a dedicated place for my sewing machine to sit. At the moment I end up dragging the machine and all of its associated gubbins downstairs once the small ones are in bed in order to get a bit of a project done. This inevitably ends up with me managing to do about 90 minutes sewing on a good night, before other jobs call me away, or Mister Knitty declares it to be Breaking Bad on Netflix time. The latter is no bad thing, because i. Breaking Bad is our new obsession (yes we are very late to the game) and ii. I get to continue with my knitting WIP, the beautiful Northmavine hoodie by Kate Davies. I'm loving the colours in this pattern and also working with the beautiful Shetland yarn again.

But whilst my lair of sewing joy is still in progress, I've been trying to finish a couple of projects at either end of the sewing spectrum in terms of size and scale. First up: curtains for the lounge.


Sewing on a grand scale

I'm sure there are a billion tutorials on curtain making - actually, I know there are a billion tutorials, as I waded through heaps of them. So I am not going to even attempt to add to that. Instead, a few things that I learnt during making mine:

1. Choosing a busy print is a great idea if you can't be bothered matching: I did take a look at whether I could match up the pattern on the fabric we chose (Ester from Scion), but there is so much going on that it makes no real difference. A lot of curtain fabrics are so expensive, the last thing you want to be doing is scrapping a whole lot just to get a match when you don't need it
Busy pattern for a lazy sewist
2. Straight lines with such huge seams is not fun. I am not particularly good at staying straight even with small projects, so I knew this would end up a little wonky. Marking with chalk along the pattern line did help a lot

3. Let the curtains hang a little before hemming. This helps to resolve any wonkiness achieved in point 2. Once they've settled, it's quite easy to pin up a fairly neat hem to make sure it matches up

This project also helped me to practice some hand hemming, which I loved doing. Normally I loathe hemming and it always looks appalling, but I am really pleased with the finish of these.

Handhemming FTW


Wednesday, 17 June 2015

Brooklyn Tweed Atlas for Little Knitty 1

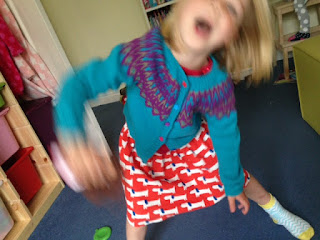
I absolutely adore Brooklyn Tweed's designs, and when I saw the Atlas pattern in last year's kids' collection, I knew it was one for me. Beautiful colours, fair isle-style yoke, sweater and cardigan options. All boxes ticked.


Next choice: yarn. I'd recently bought some Debbie Bliss Rialto DK in a sale somewhere, thinking that it would definitely end up as something for one of the girls. I thought it would be suitable in terms of weight, but it would lose some of the aran feel of the Brooklyn Tween yarns that are recommended. I still can't wait to knit with some of those. I matched this bright blue up with a couple of balls from my stash. The pattern suggests that the child could pick out the yarn colours, but to be honest we would have been stuck with some very random choices, so I did kind of wave them at her and then carried on regardless.

The pattern is very easy to follow and I learned some very neat little techniques for a provisional cast on, and even the method for picking up stitches without leaving gaps is something I'll use from now on. Others on Ravelry have mentioned that the short rows aren't particularly essential. I'm not too sure, but I still struggle with keeping my stitch markers at the right position, so hopefully mine aren't too wonky.

The colour chart is very clear, and I like that on each row, it's set out which yarn should be dominant. I probably shouldn't say this, but I actually thought that it didn't matter which yarn went where. I know, I should be stripped of my needles. It was a real eye opener for me to see the texture that came through when I actually followed the instructions properly. I know. Lesson learnt.

And then, of course, there's the steek. I've done one previously for my Little Birds cardigan, and I remember that I wasn't nervous at all, just excited. This one would have been simple, however for some reason my steek seemed to shift around (looks as though those short rows weren't that accurate), so I decided to machine stitch two rows to make sure that the steek was properly secure before cutting. Everything has stayed where it needed too, but the yarn is quite smooth, so it's not going to felt in as much as more aran-type yarns would do. So, I'm not too keen on the messy interior, but I made sure the button bands were nice and wide to make sure it's all hidden away.


I am really pleased with how this one turned out, but as always when knitting for small ones, it's always a worry that the garment you've just spent weeks and months slaving over is stuffed into a drawer and forgotten about. But judging by the pics, I don't think that will be the case for this one.

I think she likes it

Wednesday, 27 May 2015

Simplicity Blogger Challenge: Practical Picking Up Pockets Skirt

Well, the good news is that my sewing machine is now back from the dealers, which is awesome. The bad news is that they basically told me that they can’t do anything for it (I felt like I was in some bad daytime hospital drama), and that I should basically run it until it breaks and then put the money I would have spent repairing it towards a new machine. 

Skirt and slippers: the best combination
So, it may be squeaking a little, but it’s managed to keep going long enough for me to finish my entry for the Simplicity Blogger Challenge. When I first saw the competition, I had literally just started with the whole blogging thing, so I thought it was serendipitous timing. It was lovely to get an email back from the Simplicity team and get the pattern in the post.

And then the worries kicked in. I’ll be totally honest, I was really worried about the whole customising and embellishment part. It’s the bit in the Sewing Bee that always fills me with dread, and I’m pretty certain that if ever in that position, I would panic, go totally over the top and the whole thing would look like a very bad day in a Home Ec classroom. 

But then I started to think more about how I could make my skirt practical and suited to my style and my life. First things first: I would need to seriously lengthen it! The pattern pieces looked super short, which is no bad thing, but I knew it would be more my style in a longer length. This was a simple enough process, although I managed to slice through the oilcloth on our dining room table in a ‘missing the cutting mat’ incident…yeah, try explaining that one away to the family the next morning…

Lengthening the skirt panels, with some fruity improvised weights

For another practical reason, I decided on View C with patch pockets. With two small Knitties in the house, I constantly find myself picking up random toys, pencils, dinosaurs, counters from various rooms, and stick them in my pockets to transport them back to their rightful places. I am basically a walking version of The Stairs rule. So, massive pockets were a definite yes.

The fabric is a fantastic medium-to-heavyweight cotton from a recent trip to London where I snuck in a trip to Goldhawk Road and its frankly amazing array of fabric shops. When I lived in London after university, I was literally 100m from this, but I didn’t sew, so never went in. Tsk. Anyway, I loved the pattern and thought it would have enough oomph (technical term there) to make the most of the volume in the gathers.

With a bit of measuring and a bit of luck, the pockets seem to be on fairly straight, which was one of my main concerns, as any wonkiness would be pretty obvious. I thought the little facings, where you turn out the tops to make a neat edge were a neat little finish. 


When it came to the gathers, I decided to do three lines of running stitch, as I remember reading that it can make the process much more stable, and I have to say it did make it an easy job. I was surprised how loose I needed to make the gathers to fit the waistband - I’d envisioned loads of material squiged into the waist, but it’s a much neater line.

Three lines good

I knew I wanted to make the bottom edge a bit more interesting, and I was reminded of one of my very favourite RTW skirts, which has a pleated bottom. I’ve never really attempted pleats, but I thought if I pinched up each pleat, pressed and sewed three lines of neat stitching to strengthen each pleat, it would make a smart, but not too home-eccy finish. Although sewing in a straight line is definitely not one of my strong points, I’m pretty happy with the effect. 


I am so pleased with how this has turned out and I will definitely be wearing this heaps. It’s super comfy for working from home (as well as the ongoing collecting of small people’s random treasures from about the house), but smart enough to get out for the school run. I’ve also loved seeing everyone else’s entries and there are some really fantastic ideas that I will be trying out with my next versions!


Thursday, 14 May 2015

How Me Made May is going for me

OK, so I thought I'd have a bit of a round up about how MeMadeMay is going. To be honest, I didn't think that I would be able to manage it initially, until I realised (once I'd read Zoe's post properly) that I could make my own pledge, and wearing homemade stuff three times each week is working out OK. Plus I got a teeny bit tiddly on May 1, thought 'sod it' and posted a photo on Instagram. So basically I blame gin for all of this.

Still, it's been quite fun, and actually a pretty good experience for a few reasons. First of all, it made me brave enough to wear and share the things I've made to people further than my immediate family (who basically have to say they like them or I start limiting cake and TV access). And the response has been really lovely, and thank you to all the sewing peeps who I've never met, but whom I am very pleased to hear from - see this is why I love social media sometimes.

Second of all, I've dusted down some old favourites, like my Ysolda Little Birds sweater, which I had almost forgotten about. It's definitely made me think about how I can get these back into regular circulation in my wardrobe - especially the knitted things that took weeks (and in many cases months) to finish.


Third of all, it's given me the oomph that I needed to finish a few things off. I'd had a Clothkits Rob Ryan skirt sitting in the adjusting pile for ages, because i. I didn't really know how to reduce the massive waist (anyone else find this with their kits?) and ii. there was always something far more interesting to be doing. But I was spurred on, and the end result is not bad at all.


So, so far, so good. Let's see how I get on with the second half of the month (although I am tempted just to stay in my new Buchanan gown for the entirety of May and lounge my way through. How has it been for you?


Friday, 1 May 2015

Me Made May

OK, having deliberated for a looonnng time about this, I am going to give Me Made May a go. There's no way that I can manage every day, unless I wear the ultimate in a capsule wardrobe, but I hope to wear at least three items every week.

This is my first time doing the challenge, and I am really looking forward to being part of it all....


Wednesday, 1 April 2015

The irony of a broken sewing machine giving you more time to blog...about sewing...

So, I find myself with a little more time on my hands. Why? Because, of course now that I am getting into my sewing groove, my dear machine decided to start playing up. I've been having a great time relishing the ability to produce finished (not perfect, but finished) projects in just a few days, rather than the weeks a similar garment would take through knitting. I should have known that my usual luck with engineering was about to start mocking me and generally putting a stopper on it all. It's now in with the repairs guys in Eccles, but there's a three week wait at the moment :( I suppose that is the price to pay for sewing having been neglected and then having a sudden renaissance: there isn't as many technical folk out there anymore.

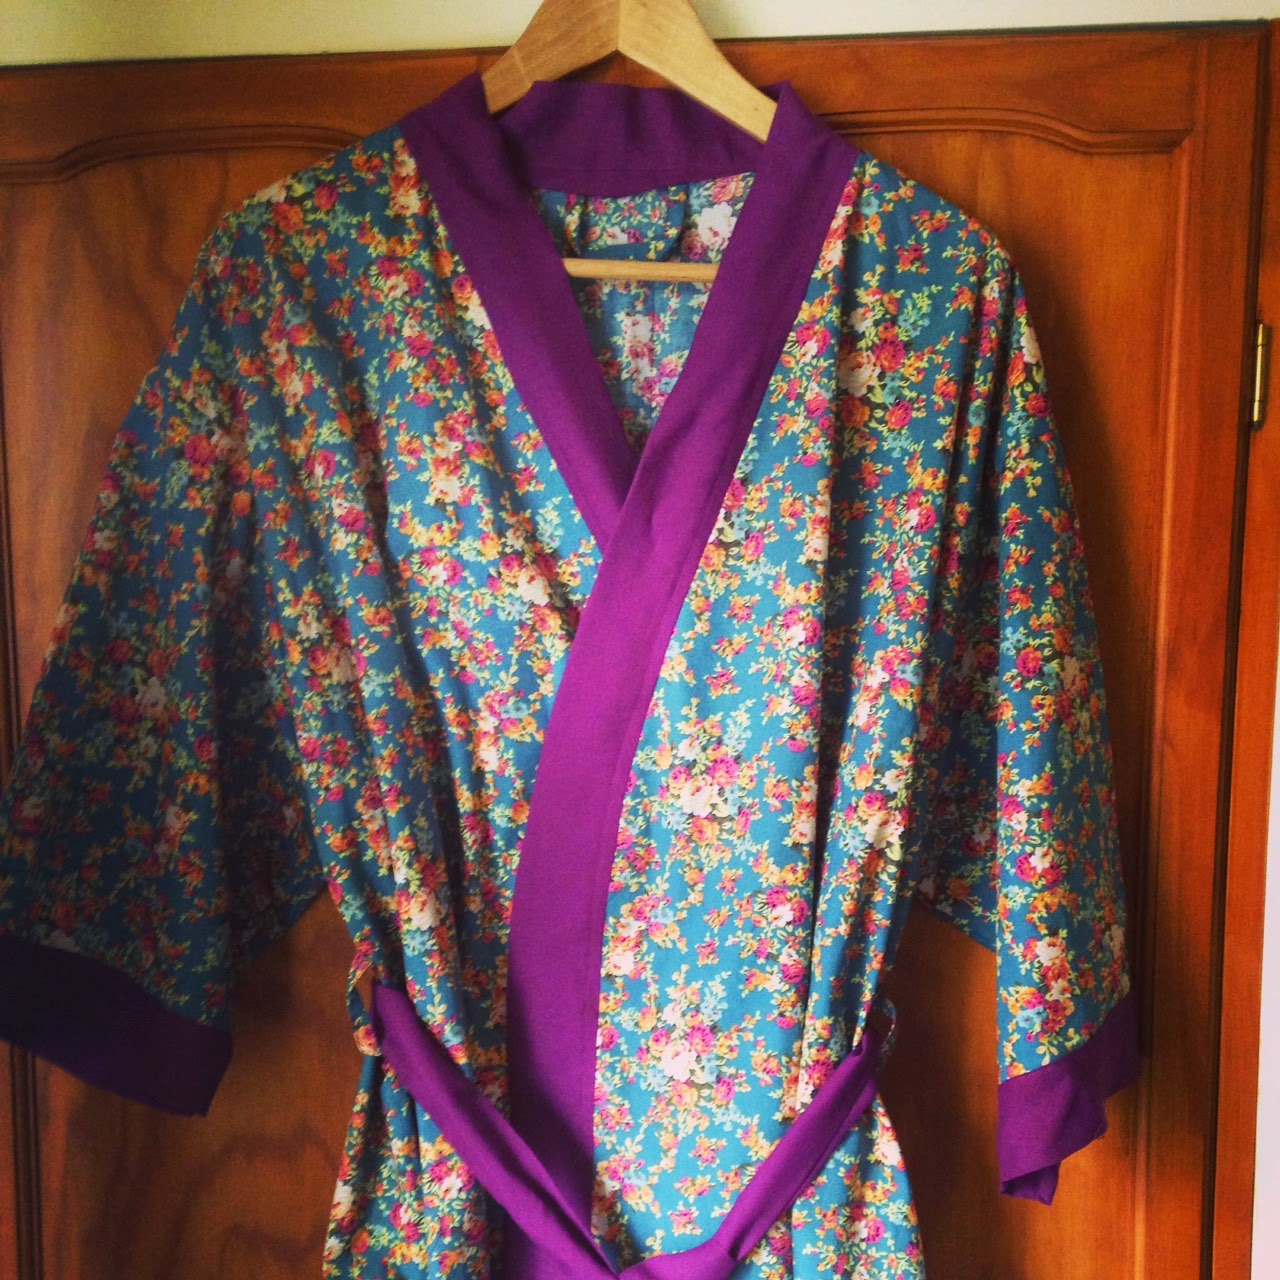
Anyway, there are a few things that I have been meaning to blog about on here, so I should use my free time wisely. Or obviously continue with the Netflix/knitting winning combo. First up is a Buchanan dressing gown from the lovely Gather Kits team. I still have a Mortmain pattern that has been waiting patiently since Christmas, and I swear it is next on the list, but Mama Knitty's birthday was earlier this month and I decided to try and make her something this year. I'd been eyeing up the pattern for a while, but because their fabric choices were so delicious, I decided to go for one of their kits. And I am so pleased I did. I loved making this, and the purple edging is so nice. The fabric is super soft - I am half tempted to email and find out where it's from. I have a feeling that most of the family will soon be wearing one of these lovelies...


I try and go on a bit of a 'one for me, one for them' loop of making stuff, and so my make for me was a Sorbetto top with some scrumptious lotus flower print from the recent(ish) John Lewis sale. I have absolutely no idea if the fabric is supposed to be for quilting and not dressmaking, but I figure at the moment, every project is helping me improve, so I don't really care. It's not like I look like I've got a tablecloth on or anything. Well at least I hope not... This was my first time making and using my own bias binding. I love the finish of it, but I am not sure my cutting/ironing/stitching was particularly precise. There's a bit of a megabump at the back of the neck, but overall, I'm really pleased with this.


Fancy new specs and my first attempt at bias binding

And finally, a little summer dress for the littlest Miss Knitty, which is a Burda BD9460. I found this beautiful fabric in The Fabbadashery in Halifax where I grew up, and I couldn't resist it. This sadly was the dress that broke the Brother's back. Having gleefully made the dress in a couple of evenings, and proudly showed off my straightest seams to date, I started on the buttonholes, only to find my machine would do the first side just fine, but the second side either unthreaded the needle halfway through, or was far thinner than the first. Let's just say the unpicking nearly destroyed me. Thankfully the husband heard my cursing from the next room and volunteered to unpick them instead. That, reader, is why I married him.


Still waiting for buttonholes

So, for the foreseeable I am going to get as much stuff as I can cut out, and get to work on the next knitting project. I am also planning on entering the Simplicity Bloggers challenge (hey in for a penny, in for a pound with this whole blogging malarky), so I am just hoping I'll still have time once the sewing fairies have done their work.

Sunday, 22 March 2015

Project pouffe


Almost by accident we moved into a new house last September. We had just started to think that we should keep an eye on the market, when BOOM out of nowhere, a great house appeared, right in the area we wanted, at a price we could afford. Awesome.

So we are in, and the extra space is super helpful, but it was a bit of a wrench leaving a home that we had done so much work to, to then go to back to living out of boxes. We are very fortunate - the decor in our new place might not be to our taste, but the lady who lived here previously really looked after it and it is perfectly livable in.

There are a million and one projects on the cards, but just before Christmas we decided to do the living room. Not the most urgent of jobs, but everything else requires some kind of major construction work or upheaval. This would give us a room that was finally ours, and that we could make snug and cosy.

As part of this, I got to thinking about how I could include some knitted items into the design. Mr Knitty is quite the expert when it comes to interior design. Me, I pick paint colours based on the ones I like the look of, rather than how effective they will actually be once they are slapped across four walls (I was convinced that I wanted a bright yellow bedroom, and quickly got the eye roll....) But, I did think I'd be able to sneak in a few smart knitted bits into the room.

I have always had a thing for the big knitted pouffes - the ones that look like they've been made with some kind of rope. And with a bit of research I came across this lovely, and very simple pattern. It's made with Rowan Big Wool, which is possibly THE loveliest yarn I've worked with for a long time, although I did wonder whether it was going to be durable enough to withstand being jumped on by enthusiastic small Knitties. But it is super soft and works up beautifully.

The repeat is super simple - just K3P3, shifting around every couple of rows. It was so simple, that I have to admit that I ended up ignoring the written instructions and just kept going round and round, which meant that I probably did end up with my own interpretation of where to move the row on. But I don't think you can tell any difference really.


To stuff it I used an old single duvet which has done the job nicely. It's not as sturdy as the ones you can buy - I think these are stuffed with coconut matting or have a foam filling, but when you've got something that does the job for no extra cost, it's worth a try. Plus it's good fun 'pouffing' it up again once it's gone flat.

I will definitely make another - perhaps in a bright blue that will complement Mr Knitty's gorgeous cornflower blue walls. Has anyone else got any good tips for knitting home accessories?